
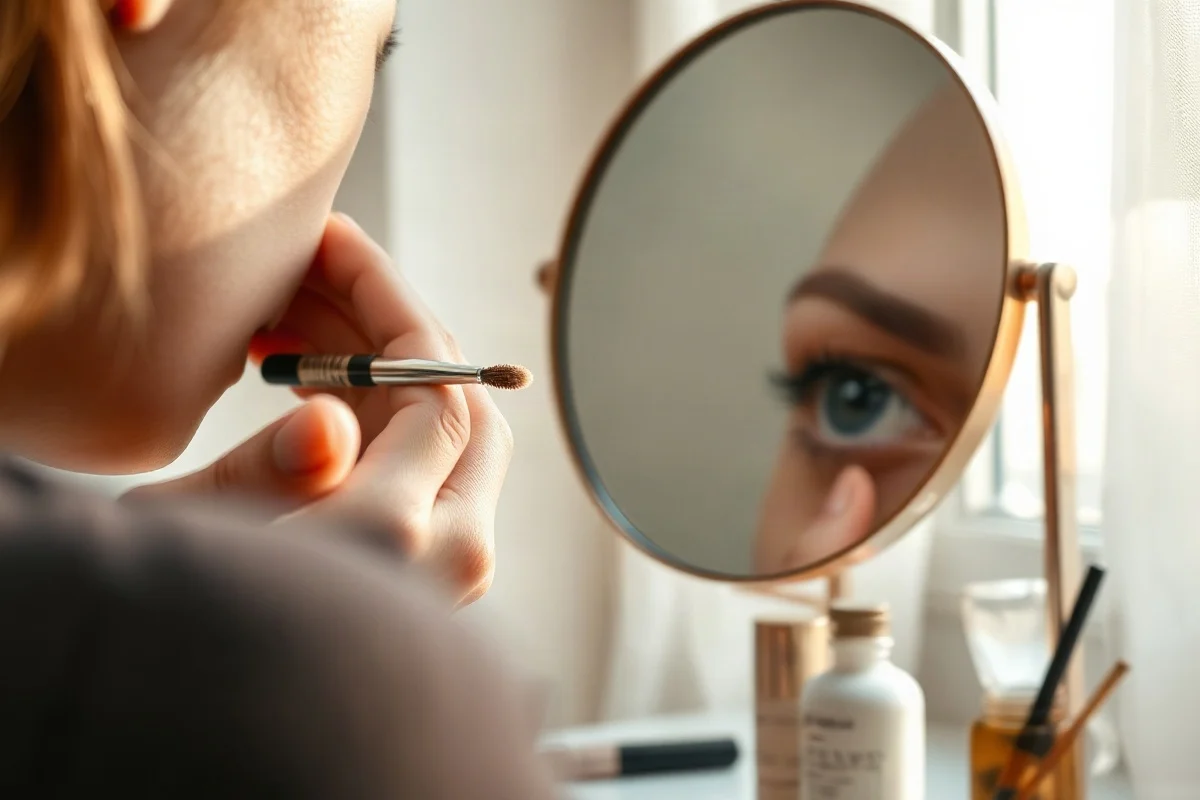
Concealer does not always cover dark circles well because under-eye darkness is not one single problem. It can come from brown or gray discoloration, visible blood vessels, natural hollows that create shadows, puffiness, dryness, or fine texture. A concealer may soften the appearance, but it cannot change the shape of the eye area or make every type of darkness disappear. The best results usually come from identifying what you are seeing, choosing a compatible formula, preparing the skin lightly, and applying less product than you expect.
Dark circles may be color, shadow, or texture
Before changing concealers, look closely at the under-eye area in natural light. If the darkness changes noticeably when you move your face or adjust the lighting, it may be partly caused by a hollow or puffiness rather than pigment alone. If it stays visible in different lighting, discoloration or visible vessels may play a larger role. Dryness and fine lines can also make makeup catch on the skin and draw attention to the area.
These causes can overlap. Someone may have mild brown discoloration, a natural tear trough, and dry skin at the same time. Adding more concealer may cover some color while making the shadow or texture more noticeable. This is why a product that looks effective on one person may look heavy, gray, or incomplete on another.
When the issue is a hollow or shadow
A hollow under the inner corner or along the orbital area can create a dark-looking line even when the skin itself is not strongly discolored. Concealer can reduce contrast, but it cannot fill the hollow. Applying a thick layer directly into the deepest crease may make the area look brighter at first and then emphasize creasing as you blink.
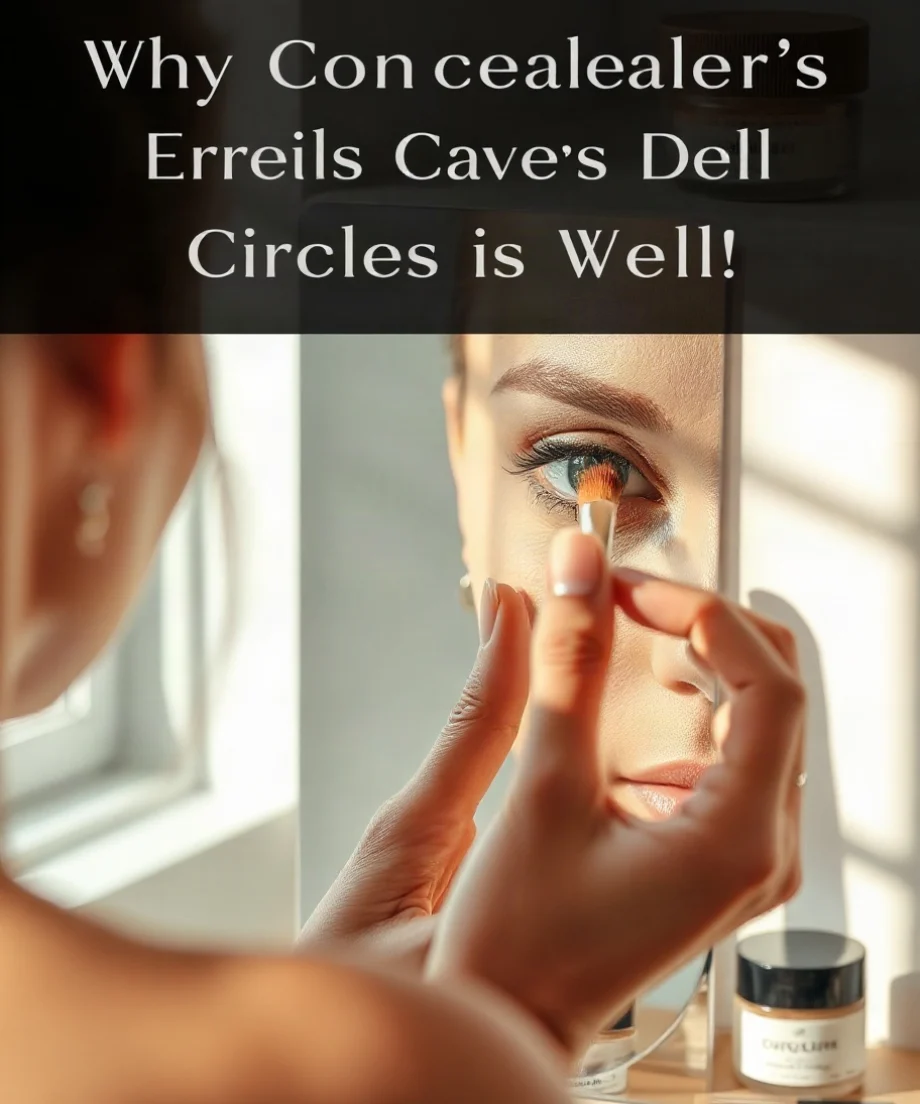
For this type of darkness, try placing a small amount of concealer slightly beyond the deepest shadow instead of coating the entire under-eye. Blending the edges can make the transition look softer. You may also prefer a lightweight, flexible formula that does not build up in the crease.
When the issue is discoloration
Brown, blue, purple, or gray tones may require a color-adjusting step rather than a much paler concealer. A thin corrector in a suitable peach, salmon, or orange-leaning family can help balance some blue or purple tones, while a more subtle peach tone may be preferable for lighter skin. The right shade depends on your skin tone and the color of the darkness.
Color correction should remain sheer enough to avoid creating a visible patch beneath concealer. Apply a small amount only where the discoloration is strongest, let it settle according to the product directions, and then add concealer sparingly. Too much corrector can make the under-eye look orange, while a pale concealer layered over strong gray or blue tones may turn ashy.
The wrong concealer shade can make darkness look worse
A concealer that is too light may make under-eye darkness look gray or chalky instead of covered. This is especially common when the product has a very bright, cool, or opaque appearance. A shade close to your skin tone often looks more natural for covering discoloration, while a slightly brighter shade can be used carefully at the inner corner or along a small area that needs visual lift.
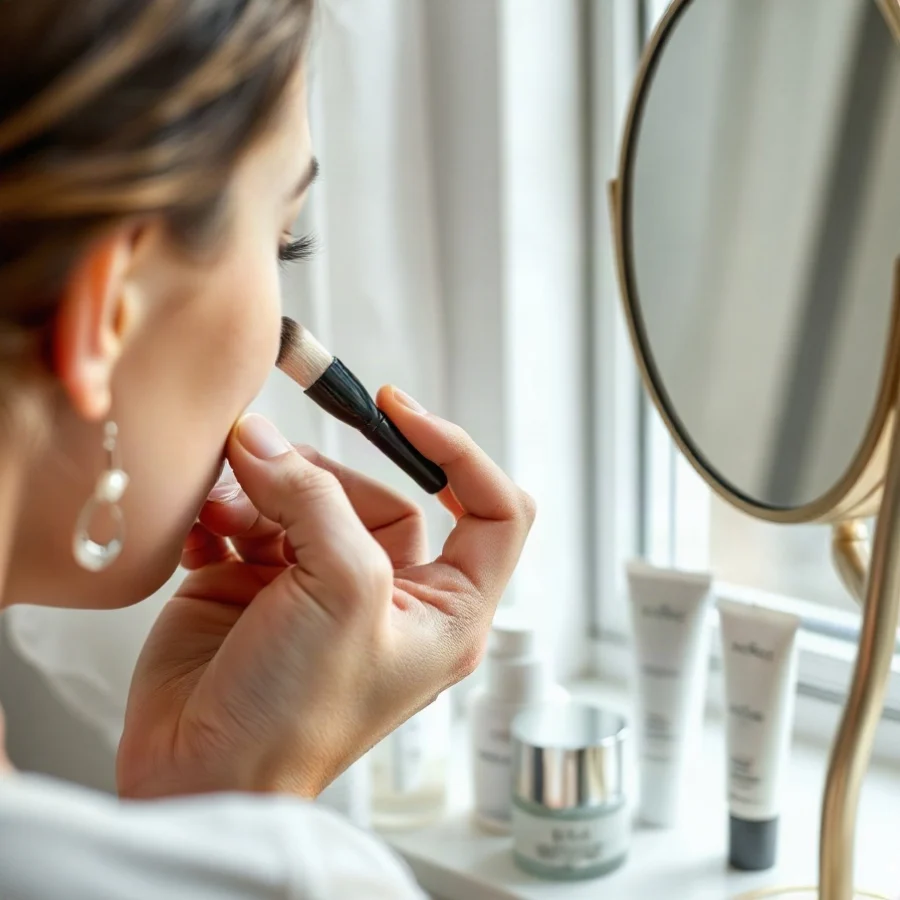
Undertone matters as well. If your skin is warm or olive and the concealer is strongly pink or cool, the contrast may become more noticeable. If the concealer is too yellow or orange, it may look disconnected from the rest of your complexion. Test the shade in the under-eye area when possible, because the color on your hand may not match the thinner skin around the eyes.
Shade names and formulas can change, so check the current product label and manufacturer information when product-specific details matter. Packaging descriptions are not a substitute for seeing how a formula looks on your own skin.
Formula and finish affect coverage
Coverage is only one part of a concealer’s performance. The finish and texture determine whether the product stays comfortable and visually smooth around the eyes.
Lightweight formulas
Lightweight concealers tend to look more flexible and natural, but they may not cover strong discoloration by themselves. They can work well when the main concern is mild darkness, a small amount of brightening, or a shadow that needs softening rather than full opacity.
High-coverage formulas
More pigmented formulas can reduce the appearance of pronounced discoloration, but they are not automatically better for the under-eye area. A thick or fast-drying product may settle into fine lines, look dry, or separate when layered. If you choose a higher-coverage formula, begin with a very small amount and build only where needed.
Radiant, natural, and matte finishes
A radiant finish can make the area look fresher, but excess shine may draw attention to puffiness or raised texture. A very matte finish may look polished on oily skin yet emphasize dryness and fine lines. A natural or softly radiant finish is often easier to adjust, although individual skin type and preference still matter.
If you are comparing products, focus on texture, finish, shade range, and whether the formula suits your skin’s needs rather than assuming the highest coverage will provide the best result. Our concealer and eye-area product comparisons can help organize those criteria, while formulas and packaging should always be confirmed from current manufacturer information.
Dryness and skin preparation can change the result
Concealer may look cracked, patchy, or uneven when the skin underneath is dehydrated or coated with too much skincare. Dryness can make small flakes and fine lines more visible. On the other hand, applying a rich eye cream immediately before makeup may leave a slippery surface that causes concealer to move or separate.
Keep preparation simple:
- Apply a small amount of eye-area moisturizer if the skin feels dry.
- Allow skincare to settle before applying makeup.
- Gently remove excess product with a clean fingertip or tissue if the surface feels slick.
- Avoid rubbing, pulling, or repeatedly wiping the delicate skin.
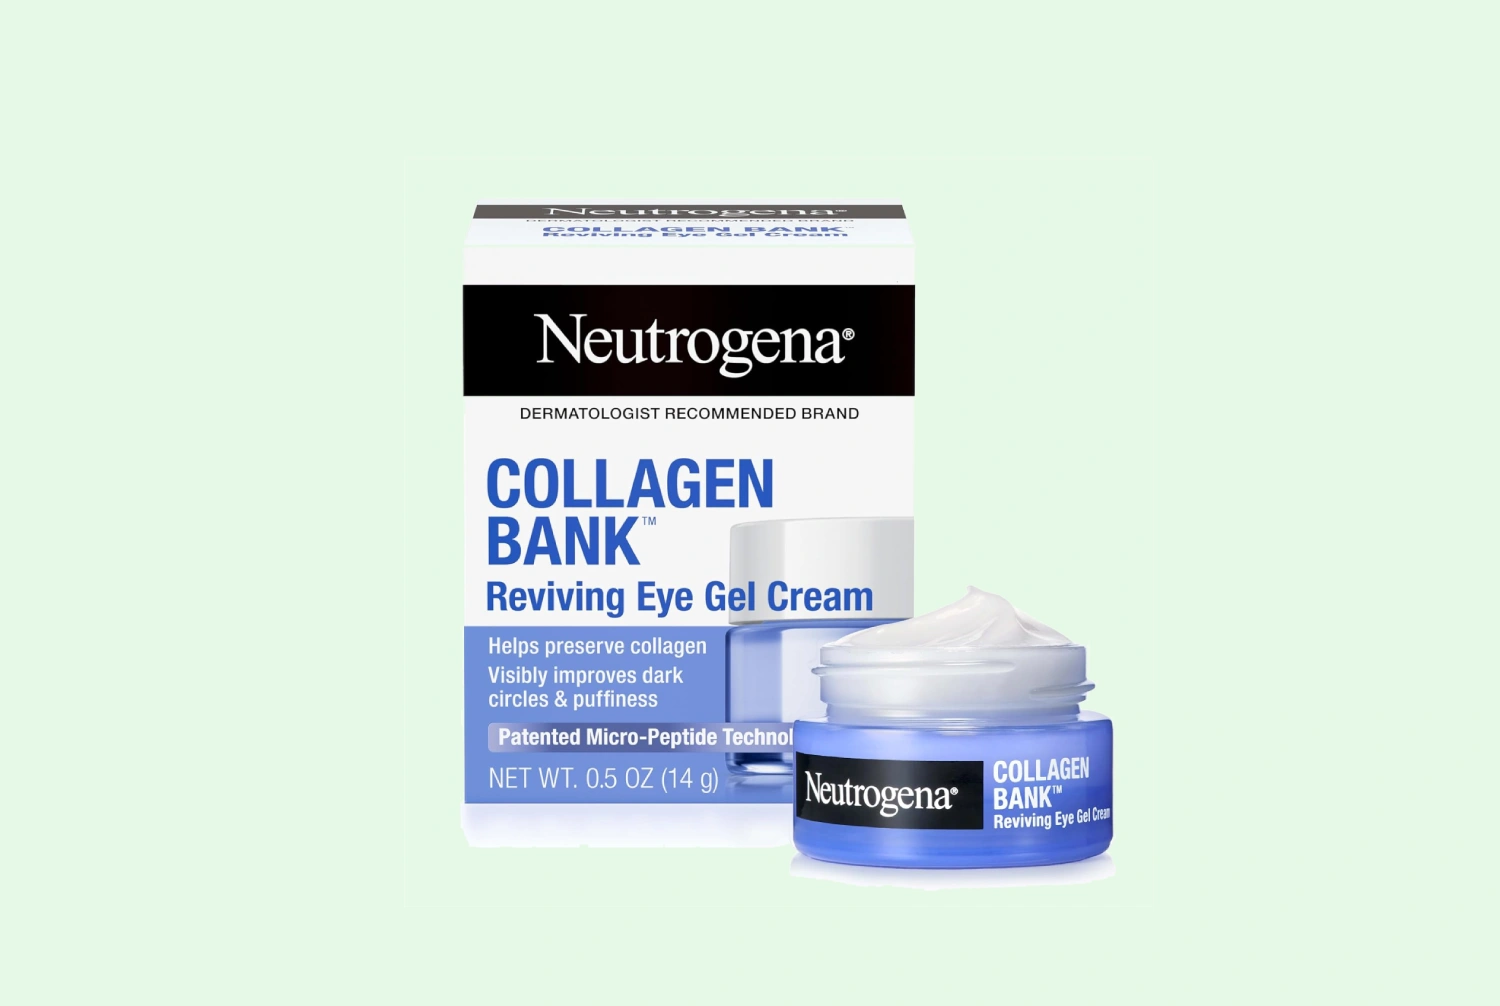
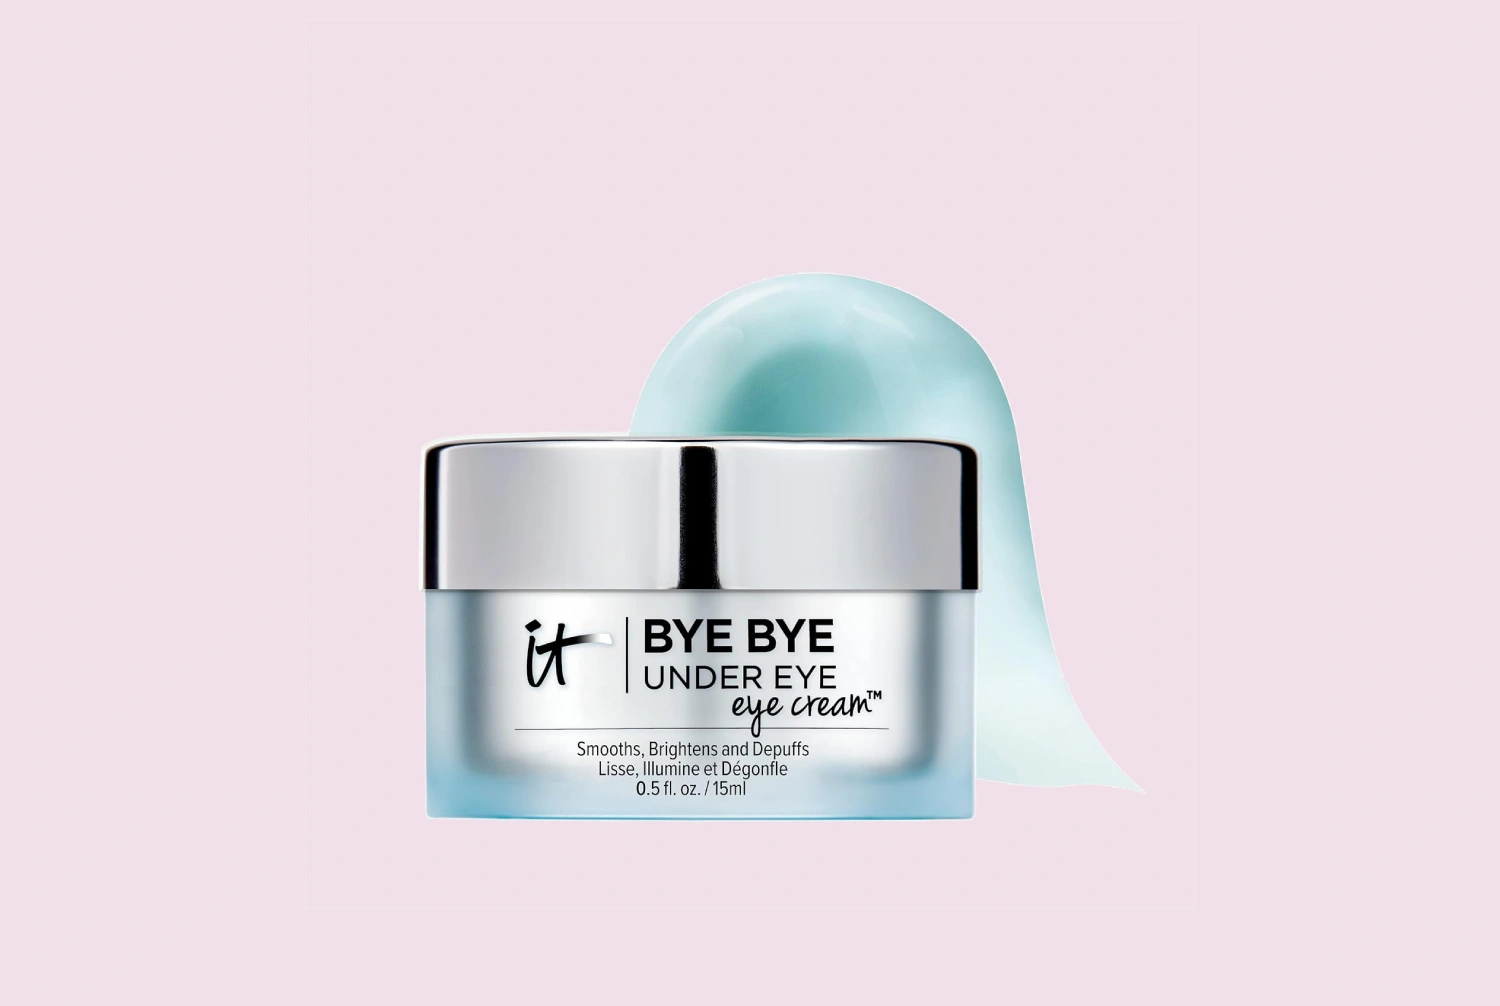
Skincare can support a smoother-looking surface, but it will not instantly change structural shadows or erase every type of discoloration. For ingredient background and routine planning, see this eye cream ingredient guide and the under-eye routine builder.
Application mistakes can reduce coverage
Using too much product is one of the most common reasons concealer looks worse under the eyes. A thick layer can crease, emphasize texture, and make the surrounding skin appear darker by comparison. Instead, place a few tiny dots at the inner corner, along the darkest area, or beneath the outer portion of the eye—wherever you actually see darkness.
Use a fingertip, small brush, or damp sponge according to the finish you prefer. Press and tap rather than dragging. This helps keep the product where it is needed and reduces unnecessary friction. Blend the outer edges into the surrounding skin while preserving enough product over the darkest point.
Powder can help set concealer, but too much may make the area look dry and textured. If you use powder, press on a minimal amount and avoid repeatedly adding more during the day. A setting spray is optional and should not be used as a substitute for choosing a compatible formula.
Why concealer can turn gray, orange, or darker later
Several changes can occur after application. Oil, skincare, sweat, and friction may cause concealer to move or separate. A formula may also deepen visually as it dries, a change often called oxidation. In other cases, the product is not changing color so much as mixing with the undertone of the corrector, foundation, or surrounding skin.
Test the complete makeup combination before an important event. Apply your skincare, corrector, concealer, and any setting product in the order you normally use them. Check the area after it has had time to settle, and look in more than one type of lighting. If the result becomes darker, try less skincare underneath, a thinner corrector layer, or a concealer with a closer undertone.
Skincare ingredients have realistic limits
Eye creams may improve the look of dryness or temporarily make the skin appear smoother, depending on the formula and your response to it. Ingredients such as moisturizing agents can support skin comfort, while other ingredients are marketed for brightening or the appearance of fine lines. These cosmetic benefits should not be confused with diagnosing or treating the cause of dark circles.
Potentially irritating ingredients, including retinoids, exfoliating acids, and some forms of vitamin C, require extra care around the eyes. Follow the product label, avoid getting the product in the eyes, and consider a patch test if appropriate. Introduce one new product at a time, and stop using it if burning, persistent redness, swelling, or other irritation develops. Current formulas can change, so verify the ingredient list on the package or manufacturer’s website.
If darkness appears suddenly, affects one side, comes with significant swelling or pain, or concerns you for another reason, consider speaking with a qualified health professional. Makeup and skincare can change appearance, but they are not tools for diagnosing an underlying medical issue.
A practical approach for better-looking coverage
- Examine the area in natural light and decide whether you are seeing color, shadow, puffiness, dryness, or a combination.
- Choose a concealer undertone that blends with your complexion instead of relying only on a very pale shade.
- Use a thin corrector only if color imbalance is the main concern.
- Moisturize lightly and allow skincare to settle before makeup.
- Apply a small amount of concealer to the darkest areas first.
- Tap the edges outward and avoid coating every part of the under-eye equally.
- Set sparingly if needed, then reassess the finish after the product has settled.
The goal is not necessarily complete coverage. A thinner layer that reduces contrast while preserving the natural texture of the area often looks more convincing than a heavy layer that hides color but highlights creases. If your main concern is puffiness rather than discoloration, different placement and expectations may be more helpful; you can explore our guide to puffiness and eye bags for related appearance-focused guidance.

Comments
0No comments yet. Be the first to share a helpful note or question.
Leave a Comment
Your email address will not be published. Comments are reviewed before appearing on the site.