

Concealer looks patchy on dry under-eye skin because the surface may have uneven texture, loose flakes, or not enough flexible moisture for makeup to spread evenly. Applying more concealer often makes the problem worse: excess product settles into fine lines, clings to dry areas, and breaks apart as you blink. A smoother result usually comes from gentle skin preparation, a thin layer of compatible concealer, and less rubbing during application—not from adding more coverage.
What makes dry under-eye concealer look uneven?
The under-eye area is delicate and naturally thinner than much of the skin on the face. It also moves constantly as you blink, smile, and look around. When the surface is dry or dehydrated, makeup has less of a smooth, flexible base to sit on.
Several factors can contribute to a patchy appearance:
- Surface dryness: Flakes and rough spots can catch pigment unevenly.
- Too much product: A thick layer is more likely to crease, separate, or emphasize texture.
- Insufficient wait time: Applying concealer while moisturizer is still wet can cause slipping or uneven coverage.
- Too much powder: Powder can absorb moisture and make the area look drier.
- Rubbing or tugging: Friction can disturb both skincare and makeup.
- Incompatible textures: A very emollient eye product under a fast-drying concealer, or several slippery layers beneath makeup, may lead to movement and separation.
Dryness is not the only possible reason for patchiness. Concealer can also look uneven when the shade or undertone does not suit the area, when coverage is applied across the entire under-eye unnecessarily, or when natural creasing is mistaken for a makeup failure. Makeup can improve the appearance of discoloration, but it cannot change the underlying structure or cause of dark circles.
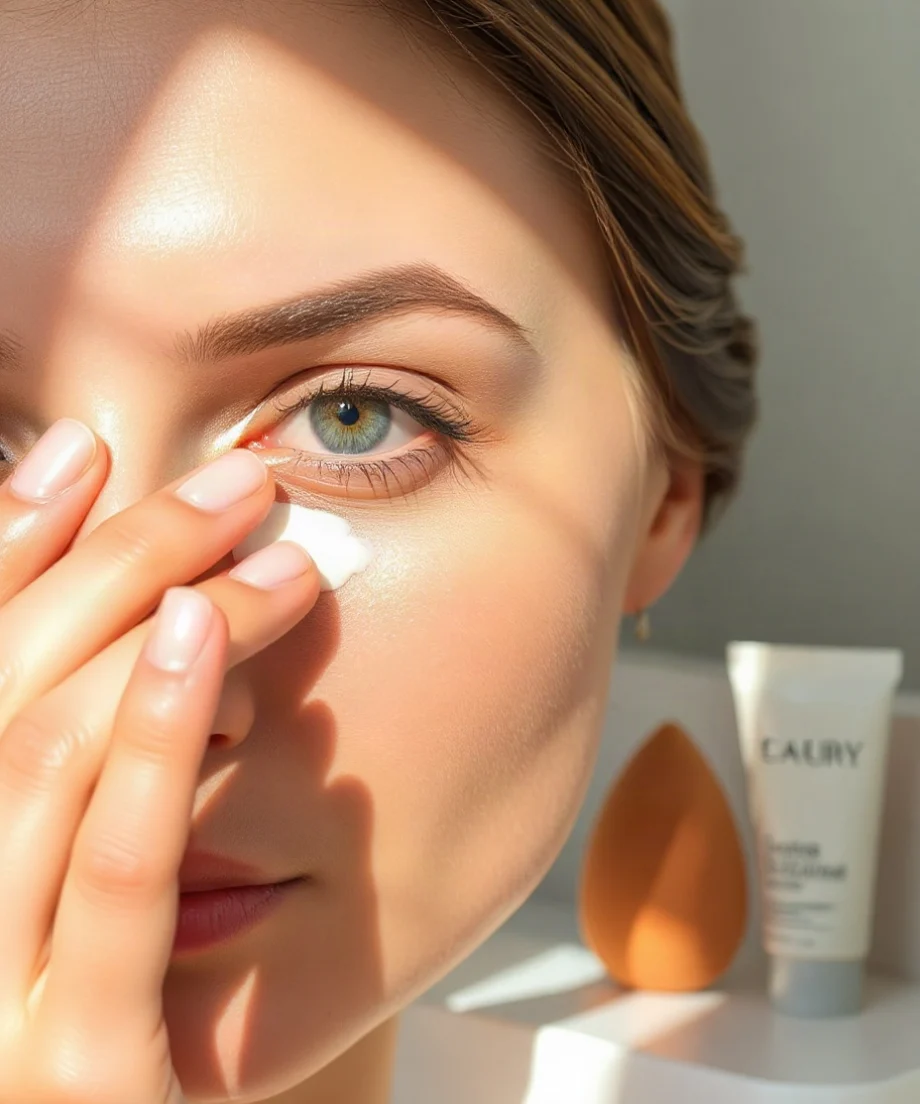
Start with a simple under-eye routine
Good makeup preparation does not need to involve many products. The goal is to create a comfortable surface without leaving a heavy, slippery film.
1. Cleanse gently when needed
In the morning, you may not need a strong cleanser around the eyes, especially if your skin feels tight after washing. If you do cleanse, use a gentle product and avoid scrubbing. Pat the area dry with a soft towel instead of rubbing.
2. Apply a modest amount of moisturizer
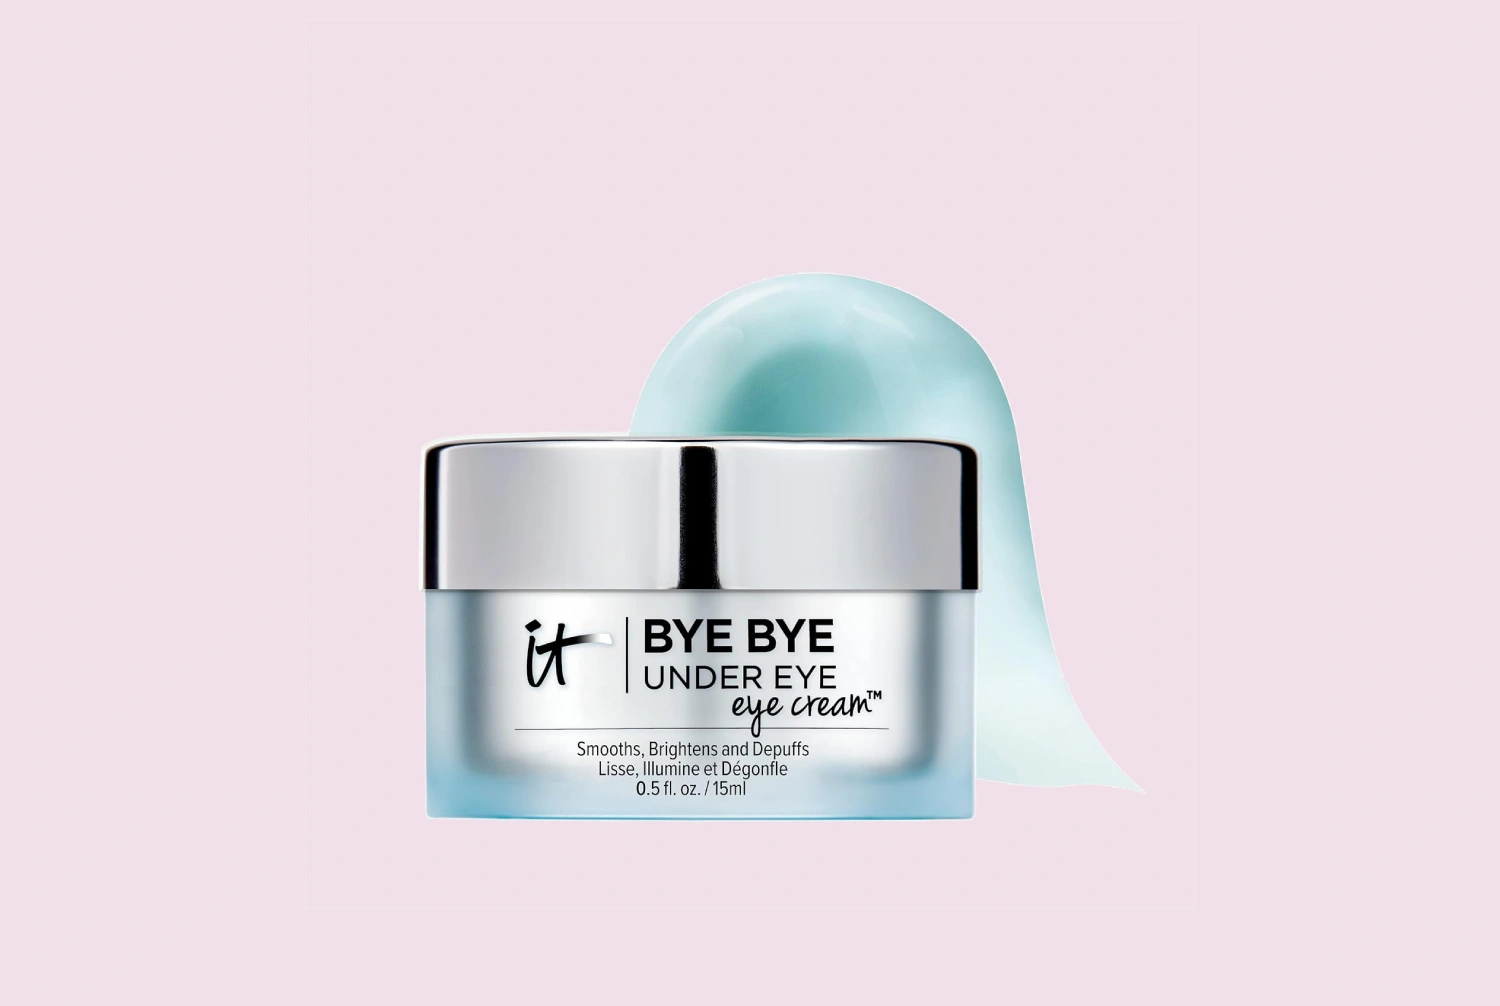
Use an eye moisturizer or face moisturizer that feels comfortable on your skin and is intended for use near the eyes. Apply a small amount with a light tapping motion, concentrating on areas that feel dry. More moisturizer is not automatically better; too much can leave concealer sliding around or prevent it from setting evenly.
Ingredients commonly used in moisturizers include humectants, emollients, and occlusive ingredients. Humectants help attract water to the skin’s surface, while emollients and occlusives help soften or reduce moisture loss. The exact experience depends on the full formula, your skin, and the rest of your routine. For more ingredient-focused background, see this eye cream ingredient guide.
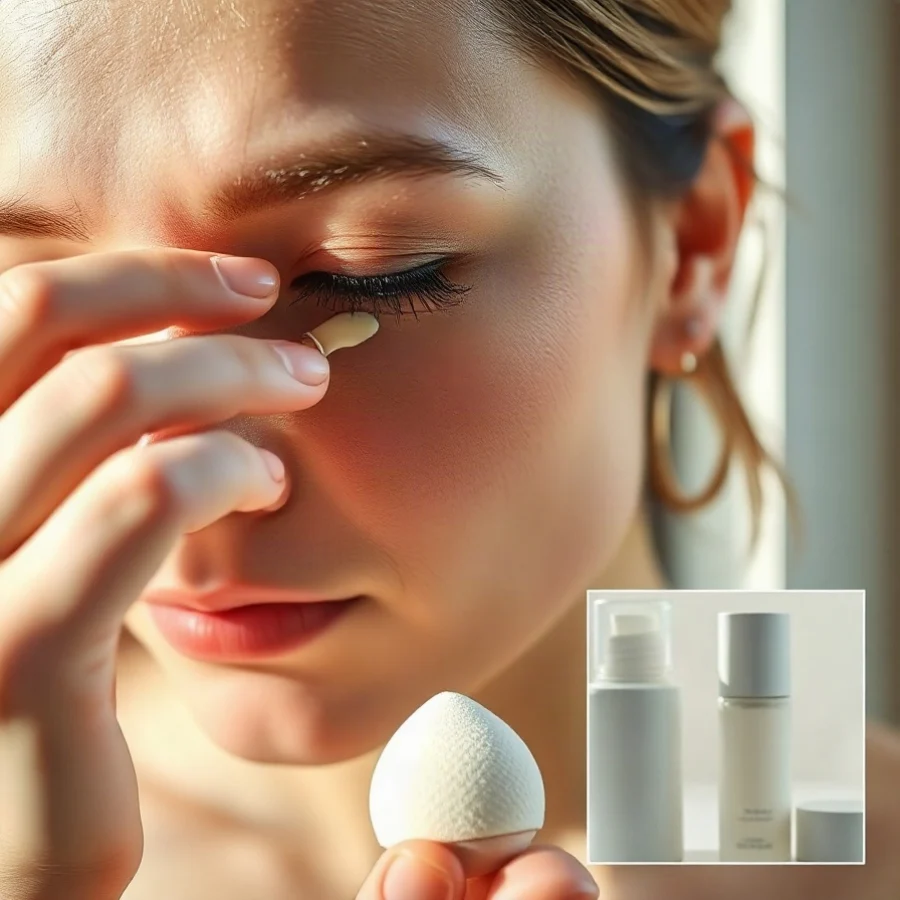
3. Let skincare settle
Give moisturizer a short opportunity to settle before applying makeup. There is no universal wait time because products differ, but the skin should feel moisturized rather than wet or greasy. If the area still feels slippery, gently press it with a clean fingertip or tissue to remove excess surface product.
Choose concealer with dry skin in mind
There is no single concealer texture that works for everyone, but dry under-eye skin often looks more comfortable with a flexible, hydrating-feeling formula than with an extremely matte, quick-drying one. A very matte product may offer a less shiny finish, but it can also make flakes and fine texture more visible.
When comparing products, consider these practical details:
- Finish: A natural or satin finish may look less flat than a strongly matte finish on dry skin.
- Coverage: Medium or buildable coverage can be easier to control than an opaque formula applied all at once.
- Spreadability: A formula that blends with light tapping may be easier to use than one that dries before you can distribute it.
- Wear behavior: Look for product information about how the formula is designed to be used, but remember that brand descriptions are not guarantees of how it will perform on your skin.
- Eye-area suitability: Follow the product’s directions and avoid use if it causes discomfort.
Product formulas can change. When a specific ingredient, finish, or use instruction matters to you, check the current packaging and the manufacturer’s ingredient list rather than relying only on an older review or product page.
Apply less concealer, more strategically
Full coverage across the entire under-eye can look heavy, particularly when dryness and natural creasing are present. Instead, begin with a small amount and place it where you want to visually reduce discoloration. This may be near the inner corner, along the deepest-looking shadow, or on a limited area beneath the eye.
Use a small brush, fingertip, or damp makeup sponge—whichever allows you to work gently and precisely. Tap the product into place rather than dragging it across the skin. Keep the layer thin near the lower lash line and in deeper creases, where excess makeup tends to collect.
After blending, pause before adding more. If discoloration is still visible but the texture looks smooth, you can add a very small second layer only where needed. If the area already looks dry or textured, more coverage may not improve the overall appearance. Removing excess product with a clean fingertip can sometimes help more than adding another layer.
Be careful with color correction
Color correction can make concealer appear more even by reducing the visual contrast of certain types of discoloration. However, it adds another layer, so it should be used sparingly on dry skin.
A small amount of a suitable corrector may be helpful before concealer, but too much can create a visibly peachy, orange, or gray result. The appropriate color depends on your skin tone, the appearance of the discoloration, and the concealer applied over it. If you use a corrector, blend the edges carefully and allow it to settle before adding concealer.
Keep expectations realistic. Under-eye darkness can have multiple visible contributors, including shadows from facial contours, differences in pigmentation, and the look of visible blood vessels. Cosmetic products can soften the appearance temporarily, but they do not diagnose or treat the cause.
Use powder only where it helps
Powder can reduce movement, but applying it heavily over dry under-eye skin often emphasizes texture. If you need to set concealer, use a small amount and press it only where creasing is a problem. A fluffy brush or a carefully controlled sponge can help prevent over-application.
You may not need powder across the entire under-eye. Leaving some areas unset can preserve a more natural, flexible appearance. Check the makeup in normal lighting after a few minutes, because a finish that looks smooth immediately may become drier as products settle.
Common mistakes that make patchiness worse
Layering too many skincare products
Multiple serums, oils, eye creams, and primers can create a slippery surface or cause products to pill. Simplify the routine when makeup repeatedly separates. Introduce changes one at a time so you can identify what feels comfortable.
Applying makeup over visible flakes
Do not aggressively exfoliate the under-eye area to remove flakes. The skin is sensitive, and scrubbing may increase discomfort and visible redness. Gentle moisturizing and time may be more appropriate. Avoid using facial exfoliating acids or retinoid products near the eyes unless the product directions specifically support that use and your skin tolerates it.
Rubbing to blend
Rubbing can move concealer away from the areas you intended to cover and may irritate delicate skin. Tapping is usually a better starting technique. Clean tools regularly, and avoid sharing eye-area makeup.
Using the same amount everywhere
The inner corner, lower lash line, and outer under-eye may have different levels of discoloration and texture. Applying an identical thick layer everywhere can make the driest areas stand out. Targeted placement is often more flattering and uses less product.
When to adjust your skincare routine
If your under-eye skin often feels tight, flaky, itchy, burning, or unusually sensitive, pause any product that seems to trigger discomfort. Follow the label directions for products used around the eyes, and consider patch testing new products when appropriate. Stop using a product if irritation develops.
Potentially irritating active ingredients require extra caution around the eye area. Retinoids, exfoliating acids, and strong fragrance components may not suit everyone, especially when the skin barrier feels compromised. You can learn more about choosing a routine for dry under-eye skin and explore a gradual plan with the under-eye routine builder.
Persistent redness, swelling, scaling, pain, discharge, or significant itching is not simply a concealer problem. Cosmetics guidance cannot determine the cause. If symptoms continue or concern you, seek advice from a qualified medical professional.
A practical order for smoother-looking makeup
- Cleanse gently if needed and pat dry.
- Apply a small amount of comfortable moisturizer.
- Allow skincare to settle and remove excess slip if necessary.
- Use a minimal amount of corrector only where it appears useful.
- Tap on a thin layer of concealer.
- Wait briefly, then add a small amount only to areas that still need coverage.
- Set selectively with a light touch of powder, if setting is necessary.
The most reliable adjustment is often subtraction: less product, less rubbing, fewer layers, and more targeted placement. Dry under-eye skin will still have natural lines and movement, and a realistic goal is a comfortable, more even-looking finish rather than a completely crease-free result.

Comments
0No comments yet. Be the first to share a helpful note or question.
Leave a Comment
Your email address will not be published. Comments are reviewed before appearing on the site.