
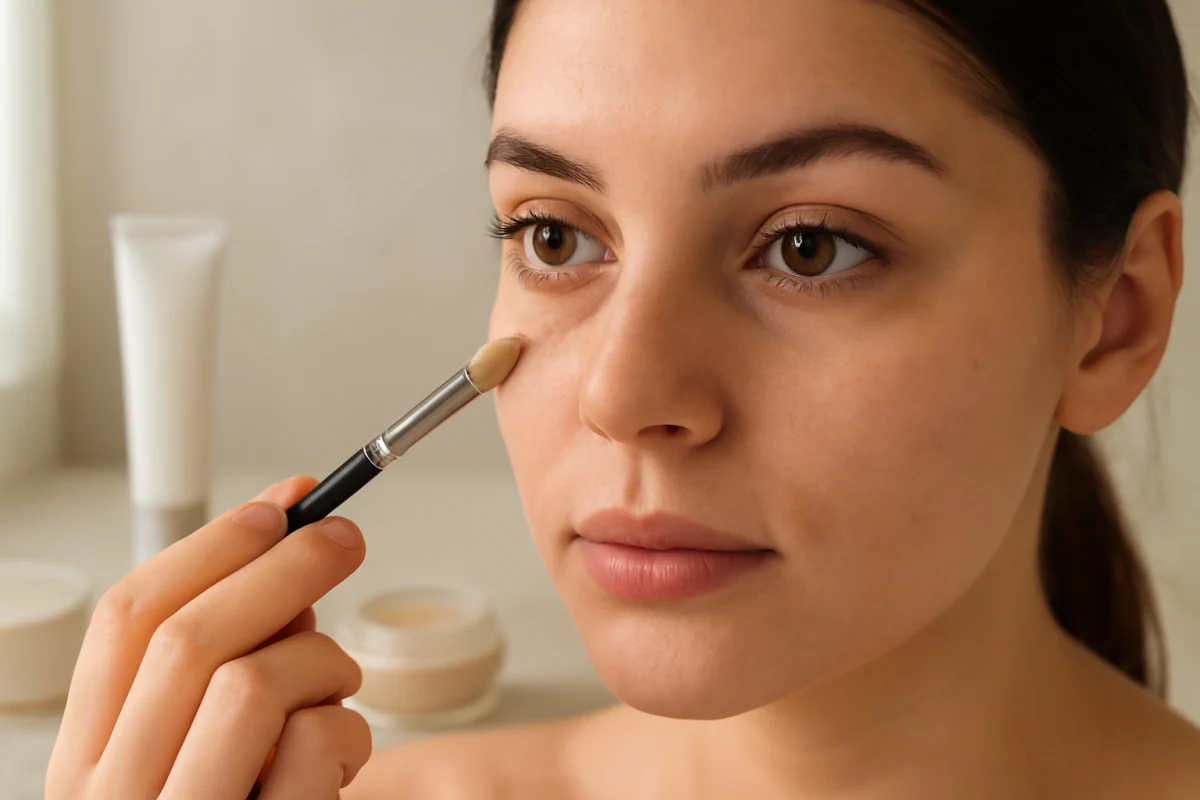
The most effective way to hide severe dark circles is to use thin, targeted layers: moisturize first, neutralize the discoloration with a color corrector, apply a flexible concealer only where needed, and set the area lightly. Makeup can significantly reduce the appearance of darkness, but it cannot change the underlying structure, pigmentation, blood-vessel visibility, or shadows that may contribute to your under-eye appearance.
Start by identifying what you are trying to cover
“Dark circles” can describe several different visual concerns. Brown or gray-brown discoloration may respond best to a warm-toned corrector. Blue, purple, or reddish tones often need a different balancing shade. A hollow under the eye can cast a shadow that makeup can soften but not completely fill. Puffiness may also create changing areas of light and shade, while dry skin and fine lines can make concealer look more obvious.
Look at your under-eyes in natural, indirect light before choosing products. Notice whether the darkness is concentrated near the inner corners, follows the lower lash line, or appears mainly in a hollow. This helps you avoid covering the entire under-eye with a thick layer when only a small area needs correction. For more background on visual causes, see our guide to dark circles versus under-eye shadows.
Build a smooth base before makeup
Makeup tends to emphasize flakes, tightness, and texture. Begin with a gentle cleanse if needed, then apply a small amount of eye-area moisturizer. Give it a few minutes to settle before applying makeup. If the skin still feels slippery, press away excess with a clean tissue rather than adding powder immediately.
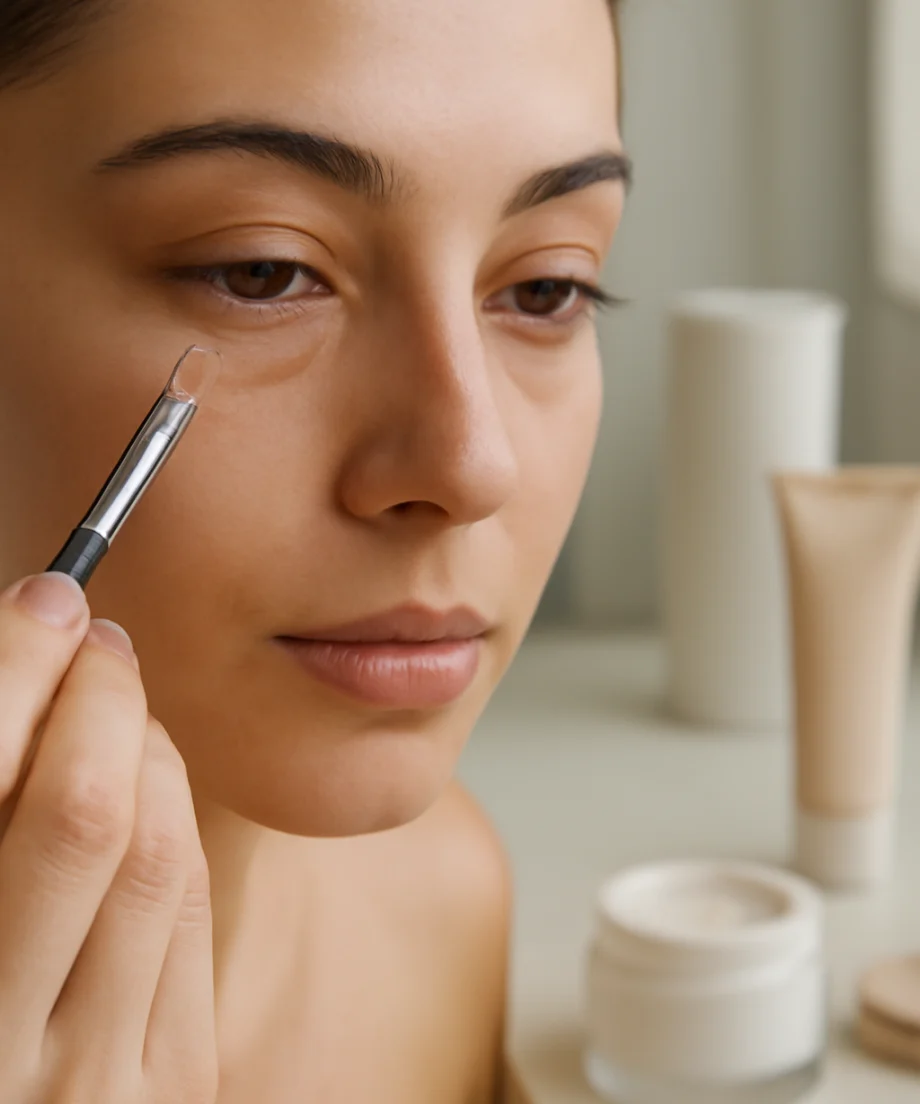
Choose a lightweight product that feels comfortable around your eyes. A rich, heavy layer can cause concealer to move or gather in fine lines, while too little moisture may leave the area looking dry. The goal is a comfortable, even surface—not a glossy coating.
If you use skincare products with potentially irritating ingredients, follow the product label, introduce them cautiously, and avoid applying anything that causes stinging, redness, or persistent watering. Stop using a product if irritation develops. Skincare may support the look and feel of the area over time, but it does not replace makeup for immediate cosmetic coverage.
Use color correction instead of piling on concealer
Color correction works by visually balancing the tone beneath your concealer. It is particularly useful when a skin-colored concealer alone turns gray, looks ashy, or requires several thick layers.
Choose a corrector by undertone
- Peach or salmon: Often useful for light to medium skin tones with blue, purple, or gray-looking darkness.
- Orange or terracotta: May be more suitable for deeper skin tones or stronger blue-gray discoloration.
- Yellow: Can help balance some purple or muted tones, depending on your complexion and the darkness you are covering.
- Pink: May brighten very fair skin when the darkness is subtle and cool-toned.
These are starting points, not universal rules. Test the shade on a small area and check it in natural light. A corrector should look softly balanced once blended, not obviously orange, pink, or yellow. If the color remains visible through concealer, use less product and blend the edges more carefully.
Apply corrector only where the darkness shows
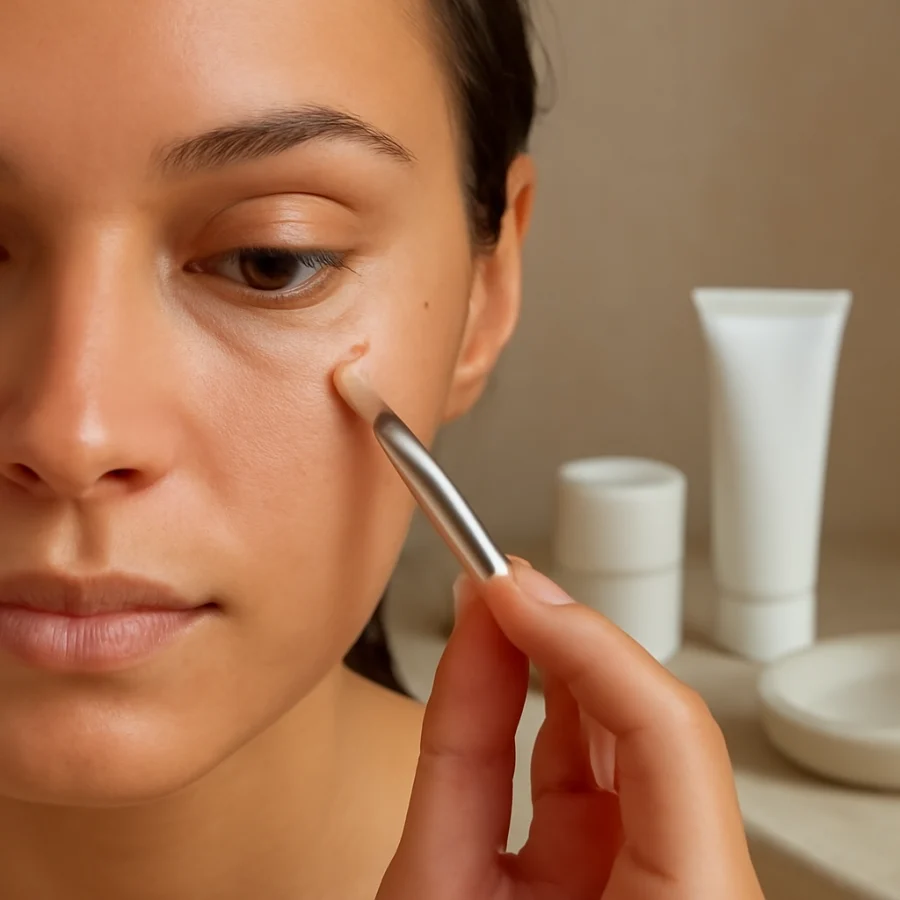
Use a small, flat brush, fingertip, or makeup sponge to place corrector on the darkest areas. Concentrate on the inner corner, tear trough, or lower lash line if those are the areas that need it. Avoid spreading a thick layer across the entire under-eye unless the discoloration is genuinely even.
Tap rather than rub. Rubbing can move the product away from the area you are trying to cover and may irritate delicate skin. After applying, pause briefly and inspect the result. If the corrector has become opaque or creased, remove some with a clean fingertip before adding concealer.
Choose concealer for coverage and flexibility
The best concealer for severe dark circles is not necessarily the thickest one. A highly opaque formula can cover strongly, but if it dries quickly or does not move comfortably with the skin, it may emphasize texture. Look for a formula that offers the coverage you need while remaining blendable and flexible.
For a natural finish, choose a shade close to your skin tone or only slightly brighter. A concealer that is dramatically lighter can make the under-eye look gray, especially when placed over blue, purple, or brown discoloration. If your main goal is to neutralize darkness, matching your skin tone is usually more reliable than trying to create a bright white highlight.
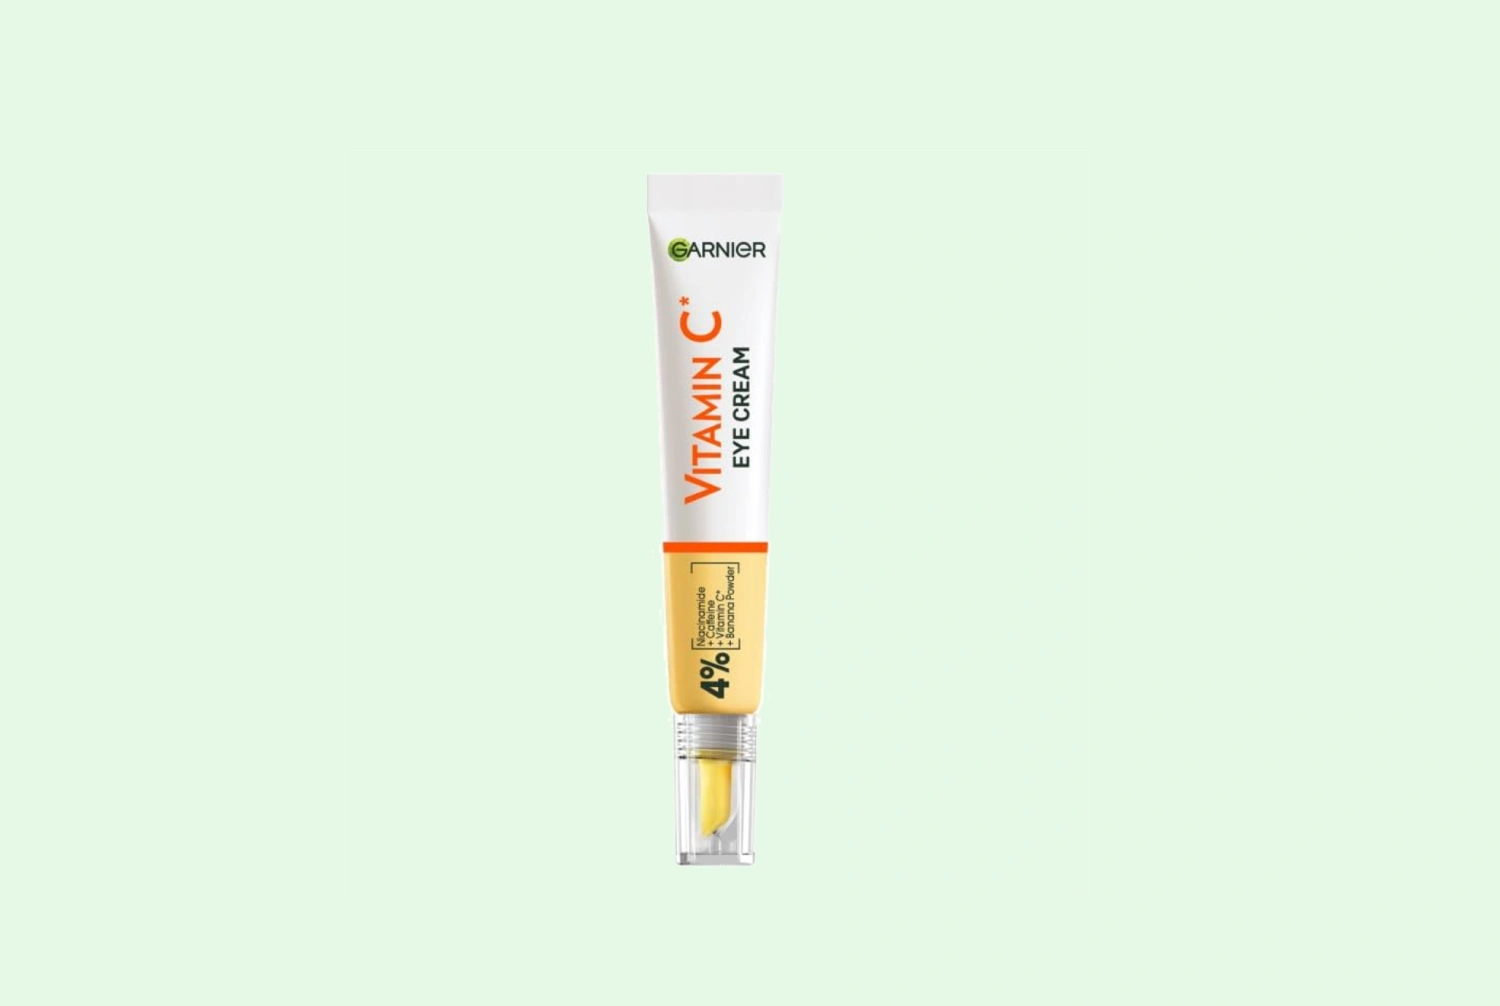
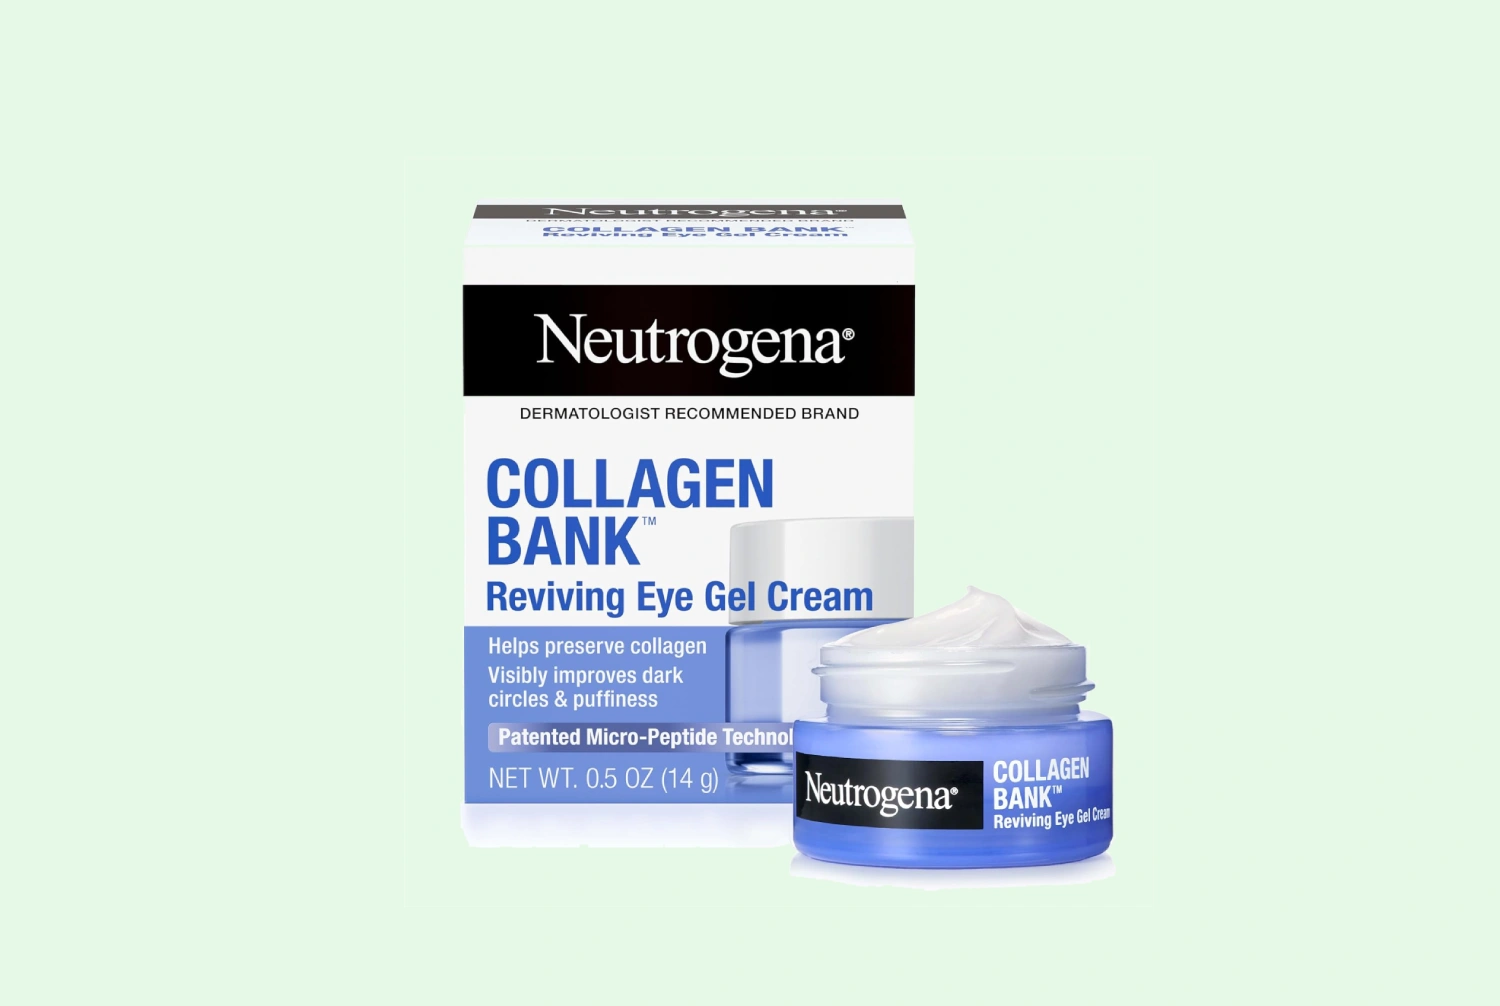
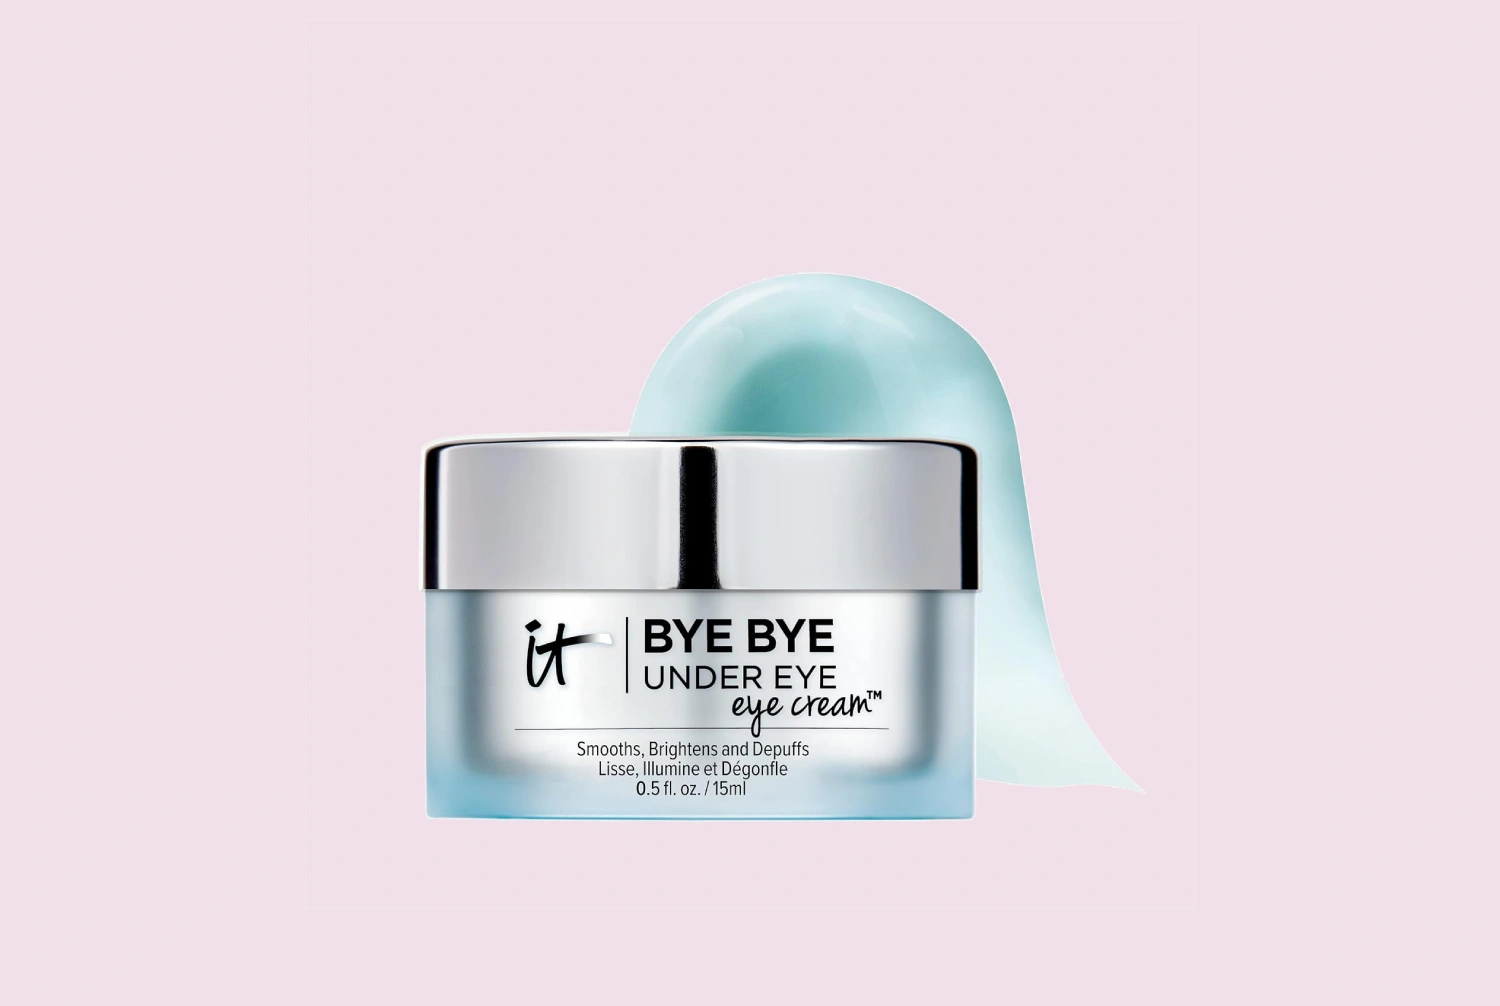
Formula details can change, so check the current packaging and manufacturer information when a specific product’s finish, ingredients, or claims matter to you. Our eye cream reviews and product research are separate from makeup coverage, and no cosmetic product should be assumed to work identically for every person.
Try the triangle method selectively
Applying a large triangle of concealer under each eye can create unnecessary buildup. Instead, place small dots or short strokes along the darkest part of the discoloration. Add a little product at the outer corner if you want to lift the appearance of the eye, then blend outward.
For a hollow that creates a shadow, place concealer on the shadow itself rather than coating the raised area beneath the eye. This requires a precise application and may look less effective when the lighting changes, because a structural shadow cannot be fully erased with pigment. Use a mirror at eye level and check the result from several angles.
Blend without removing the coverage
A common mistake is blending too far or using too much pressure. Begin in the center of the area with a tapping motion, then soften only the edges. A small synthetic brush can provide precision, while a slightly damp sponge can create a thinner finish. Fingers can work well because their warmth helps spread product, but use a light touch.
When coverage disappears during blending, do not immediately apply a thick second coat. Let the first layer settle, then add a pinpoint amount only to the remaining dark spot. This targeted approach usually looks more natural and is less likely to crease.
Set the makeup carefully
Powder can improve wear, but too much can make the under-eye look dry and accentuate lines. Use a small, soft brush and pick up only a minimal amount of finely milled powder. Press it lightly onto areas that crease, such as the inner corner or the fold beneath the eye. Avoid sweeping a heavy layer across the entire under-eye.
If your skin is dry or visibly textured, you may prefer setting only the most mobile areas and leaving the rest with a natural finish. Check your makeup after several minutes, then remove any buildup with a clean fingertip. A setting spray may help some makeup routines, but avoid spraying directly into the eyes and follow the product’s directions.
Use light and surrounding makeup to redirect attention
Strategic makeup can make the whole eye area look more balanced. Curling the upper lashes and applying mascara to the upper lashes can draw attention upward. A soft, matte eyeshadow in the crease may add definition without creating additional shadow directly beneath the eye. Avoid placing very dark shadow along the lower lash line if it makes the area look heavier.
A subtle highlight at the inner corner can brighten the look, but shimmer may emphasize texture. Choose a finish that suits your skin and keep the application small. Groomed brows and a softly defined upper lash line can also shift visual focus without requiring more coverage under the eyes.
Adjust the technique for puffiness and fine lines
If puffiness is part of the concern, heavy concealer over the fullest area may make it stand out. Apply less product to the raised area and place coverage where the shadow falls beside or beneath it. This can soften contrast without adding a thick, light patch.
For fine lines, use less skincare immediately before makeup, wait for the moisturizer to settle, and apply thinner layers. After five to ten minutes, look straight ahead and gently tap away any product that has collected in a crease. Lines are a normal feature of the skin, so the goal is to reduce visible contrast rather than create a completely texture-free surface.
Common mistakes that make dark circles look worse
- Using a concealer that is too light: This can produce a gray or flat appearance instead of neutralizing darkness.
- Skipping color correction: A skin-toned concealer may need excessive thickness when strong undertones show through.
- Applying product over dry flakes: Makeup will cling to texture and look heavier.
- Covering the entire under-eye: Excess product often collects in lines and draws attention to the area.
- Rubbing while blending: This can remove coverage and irritate delicate skin.
- Over-powdering: Too much powder can make the area look dry and emphasize creasing.
- Judging the shade under artificial light: Check your makeup in natural light before leaving home.
Keep expectations realistic
Makeup can make severe dark circles look considerably less noticeable, but coverage has limits. Pigmentation, visible vessels, thin skin, hollows, puffiness, and shadows may respond differently to the same technique. Results can also vary with lighting, facial movement, skin texture, and how long the makeup has been worn.
If dark circles appear suddenly, affect one side, or occur with swelling, pain, rash, vision changes, or other concerning symptoms, consider speaking with a qualified health professional. Makeup guidance can address appearance, but it cannot diagnose or treat an underlying medical issue.
For the most reliable everyday routine, keep the process simple: moisturize lightly, correct only the darkest tones, use a skin-matched concealer in thin layers, set selectively, and reassess in natural light. If you want help organizing your broader eye-area routine, try the Under-Eye Routine Builder.

Comments
0No comments yet. Be the first to share a helpful note or question.
Leave a Comment
Your email address will not be published. Comments are reviewed before appearing on the site.